


This plugin integrates Client Dispute Manager with 100+ third-party web services via the Zapier web automation service.
The Client Dispute Manager Zapier plugin has the following requirements:
| Zapier Account | Free or Paid |
Note:
- Zapier accounts have free and paid plans – see the Zapier Pricing page for more info.
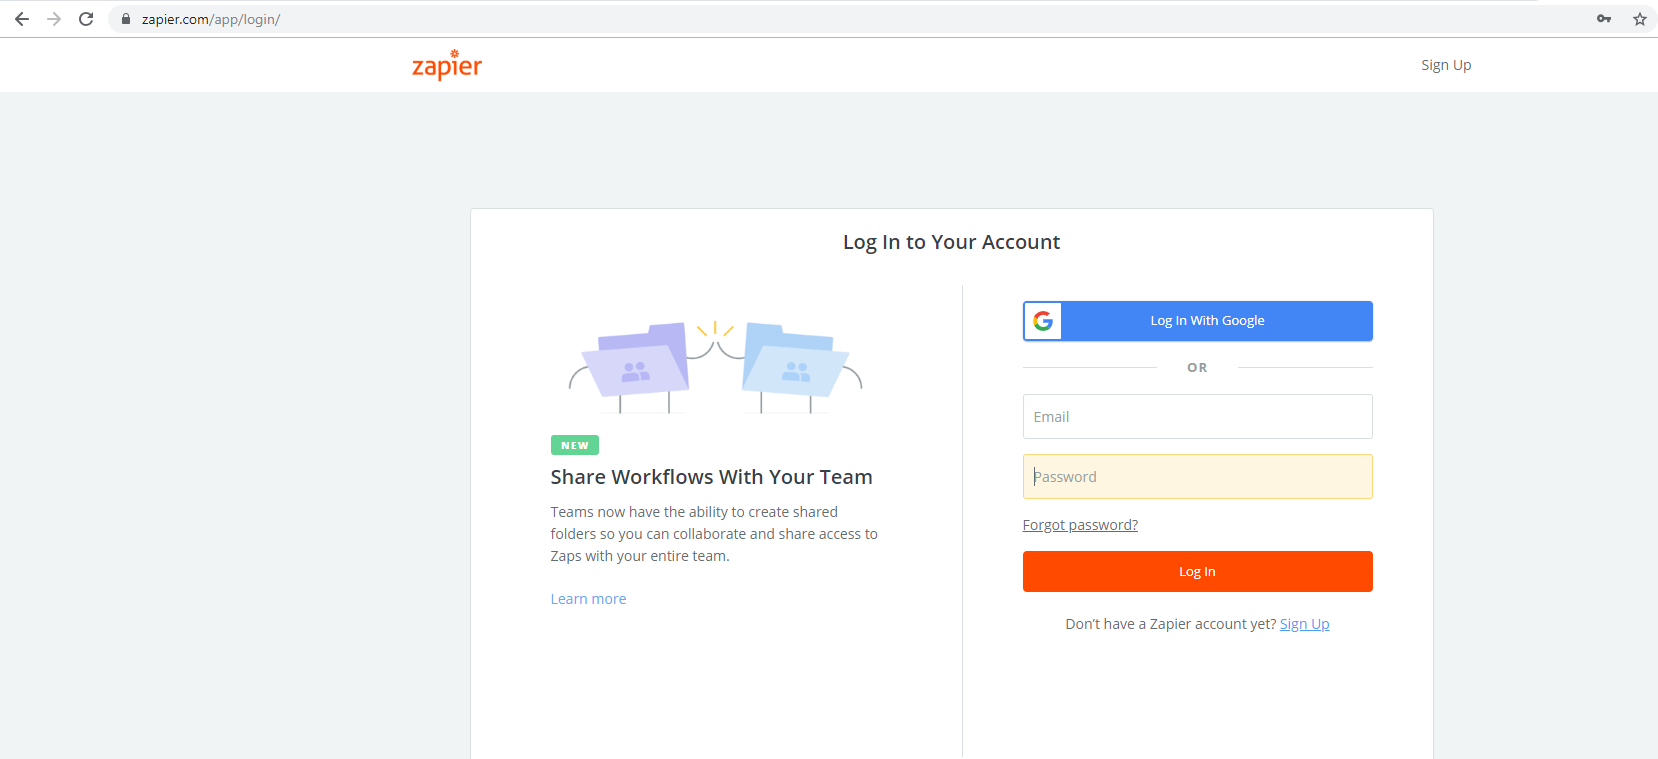
Sign up for a Zapier account.↑ Back to top
- Go to the Zapier website.
- Select the Sign Up for Free button or enter info in the form.
Or log into your existing Zapier account.
Setup and Configuration
Zaps: Client Dispute Manager and Zapier work together using:
- Zaps – Managed in Zapier, zaps receive your data from Client Dispute Manager and send it on to another service.
Configuring a Zap ↑ Back to top
Here is a quick overview on configuring a Zap:
- Start a Zap: Use your Zapier account to create a new Zap and grab your Client Dispute Manager URL.
- Finalize your Zap: Finish configuring your trigger, action, (optional) filters and data. Test it by using the sample data, then activate your Zap.
On-screen instructions provide assistance. If needed, more detailed instructions for each of the three steps are below.
Step 1: Start a Zap
To get started, we recommend using we recommend using one of the recommended Zaps. A recommended Zap is typically quicker than hand-crafting your own from scratch:
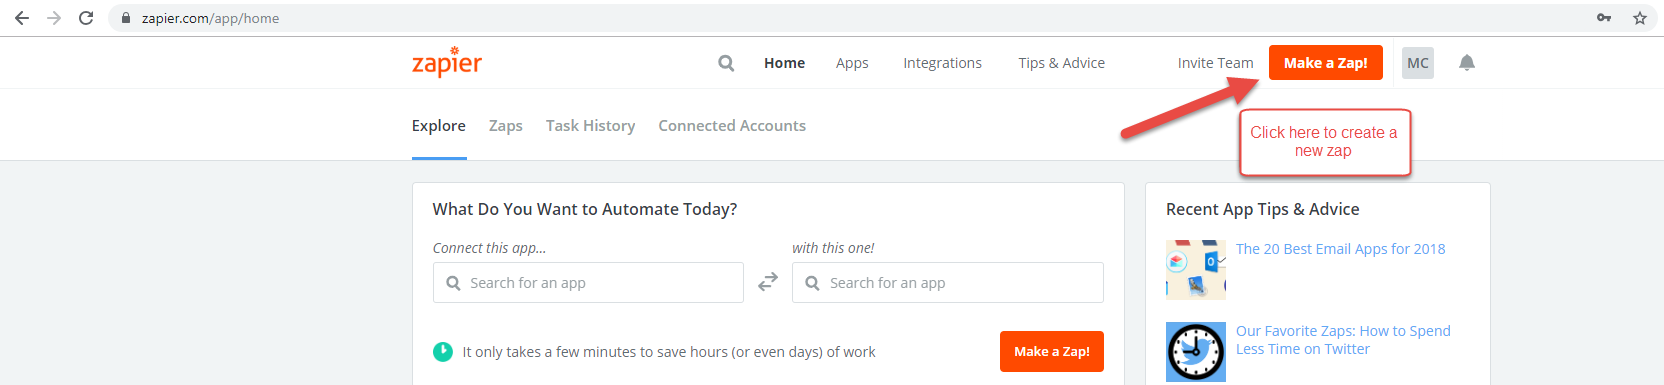
From your Zapier Dashboard, set up a new Zap:
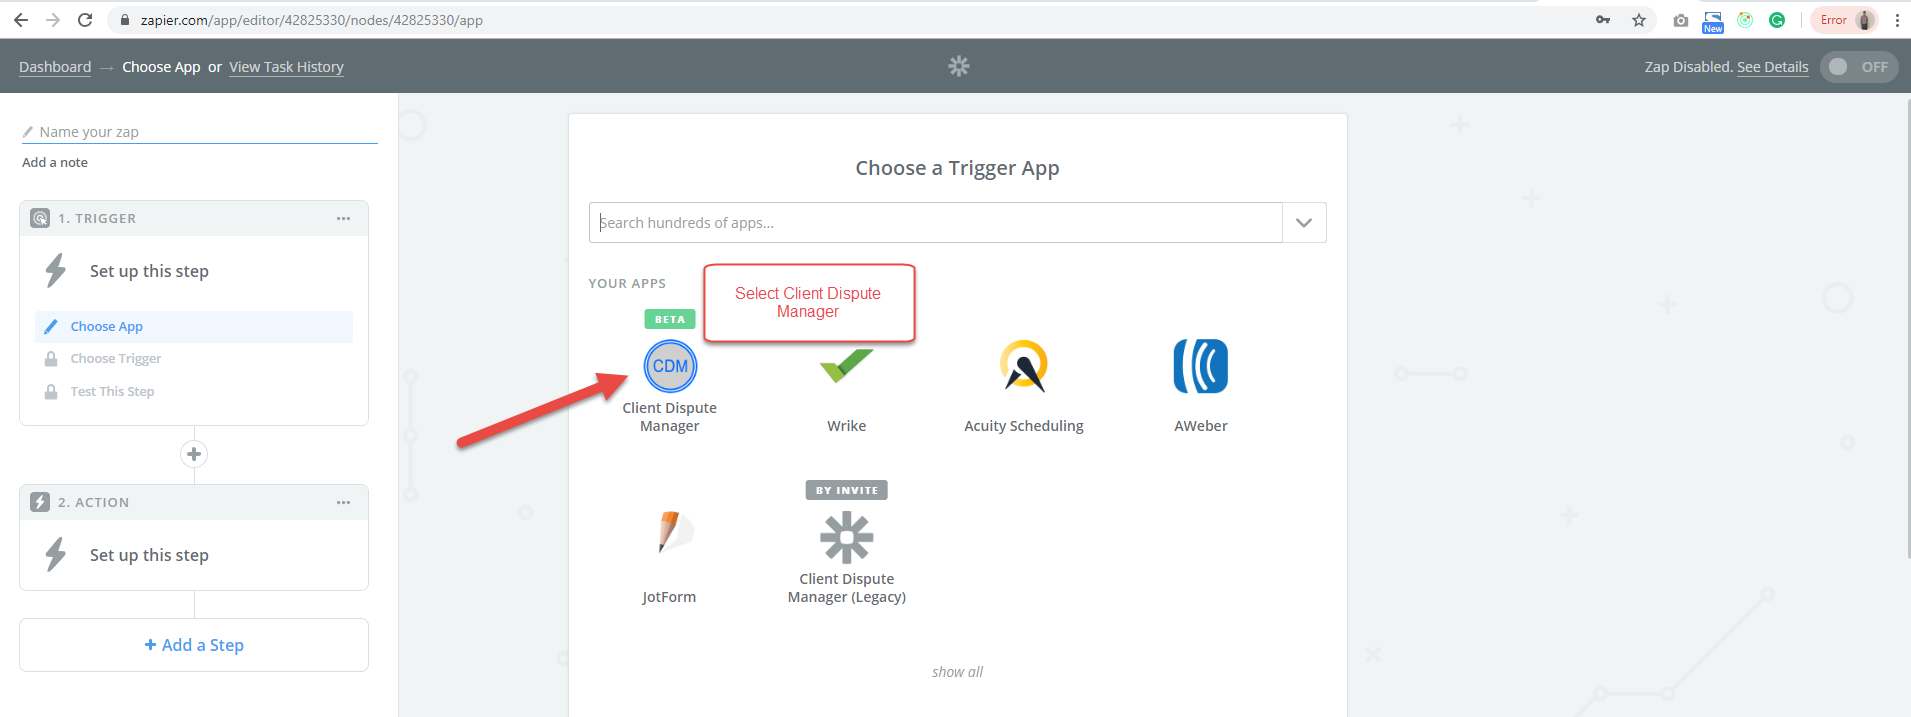
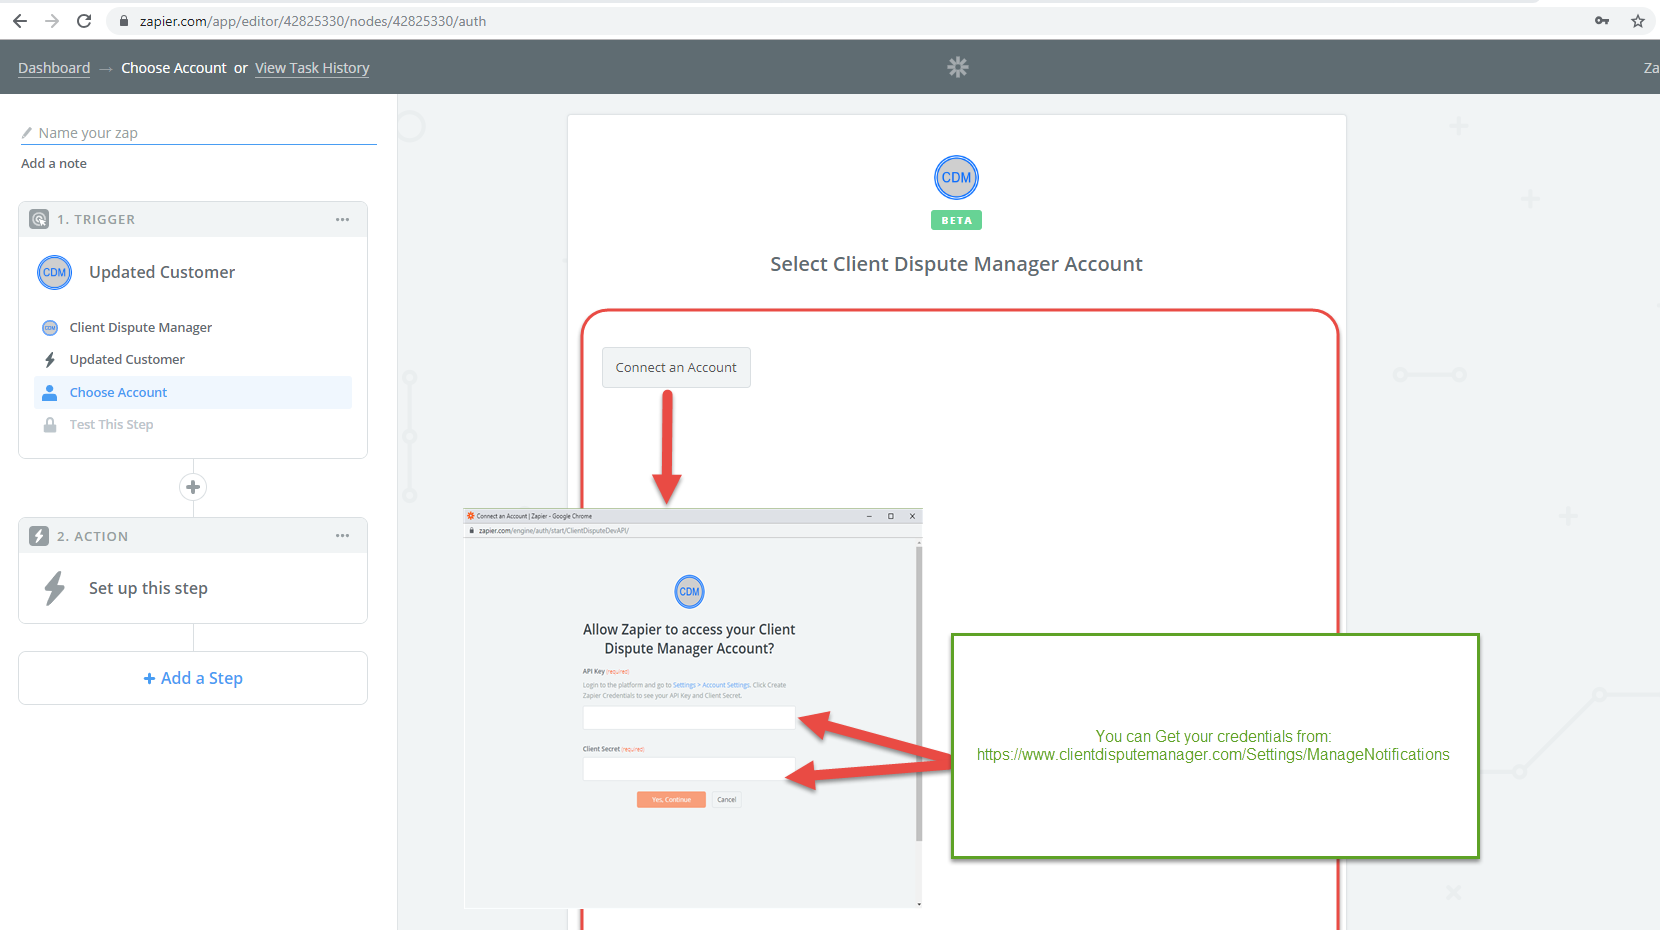
- Set Trigger: Click the Create a new Zap button. In the Trigger Service dropdown, choose Client Dispute Manager, and choose a trigger using the additional dropdown – for example, Updated Customer
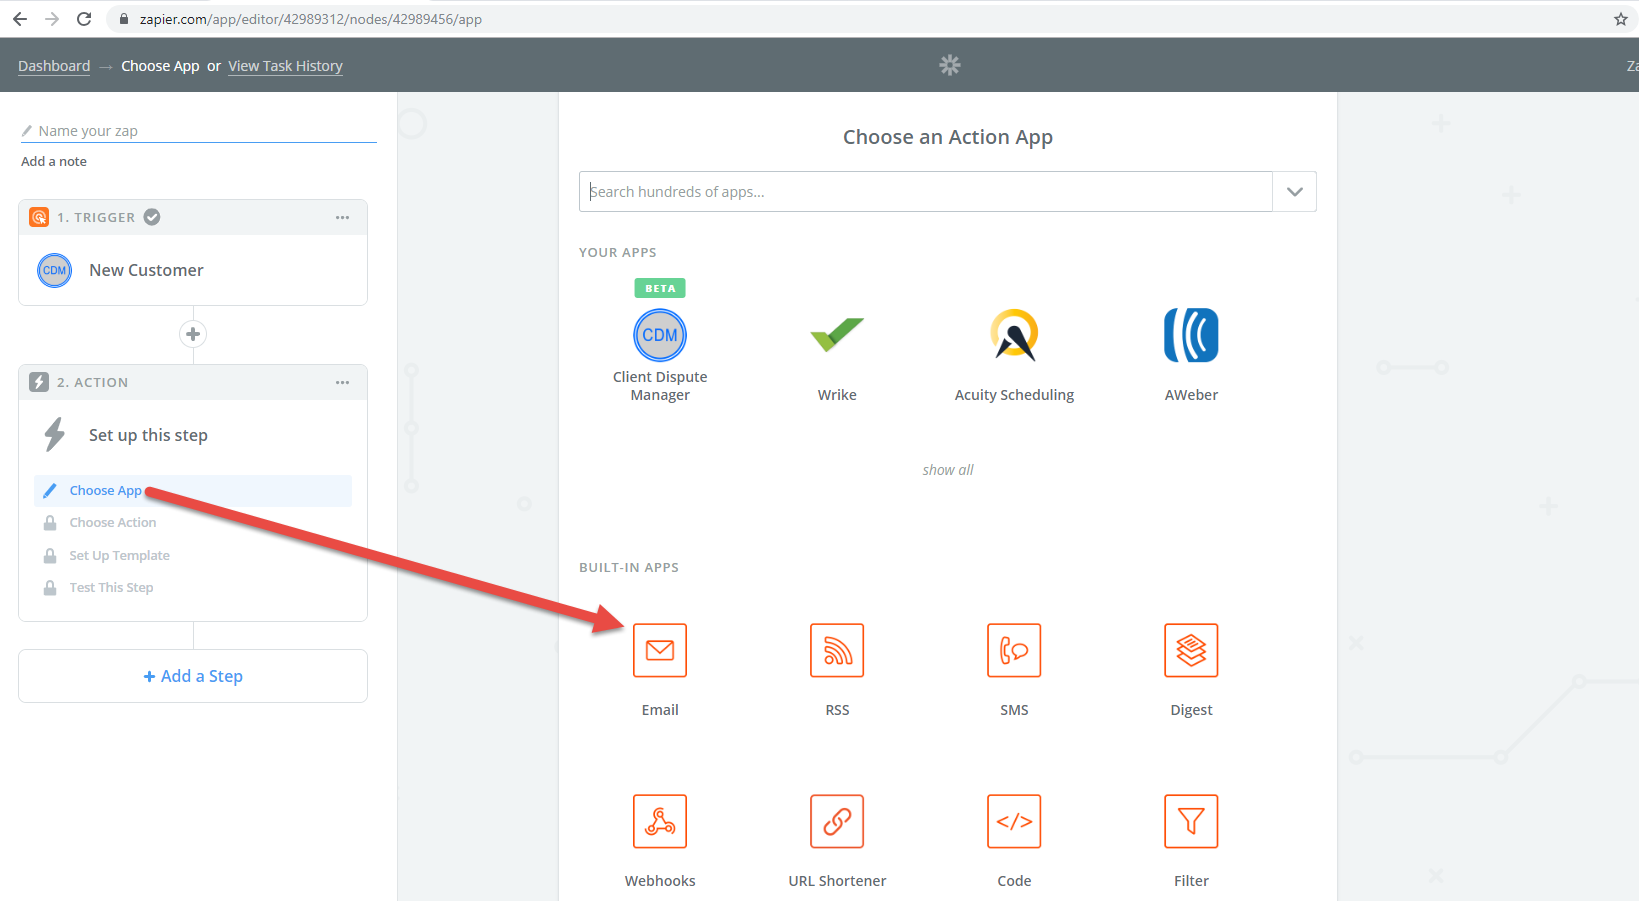
- Set Action: In the Action Service dropdown, choose a service to send your Client Dispute Manager data to. In the Action dropdown, choose your desired action and click Continue.
- Get your API Key and Client Secret Key: Login In client Dispute manager Software Copy Keys From Settings > Account Settings so you can use it when setting up your Zapier Connet Account From Client Dispute manager Software.
- Set Trigger: Chose the same Trigger you used in Zapier – for example, New Customer.
Step 3: Finalize Your Zap
Back on your new Zap screen on Zapier.com:
- Continue: Click the big orange I’ve followed the instructions, Continue button.
- Configure your Action: Configure what happens in the service you are sending to. Follow the on screen instructions and when you have finished, click Continue.
- Filters: Create an optional Filter if you want to fine tune when your Zap fires. See information on Filters below.
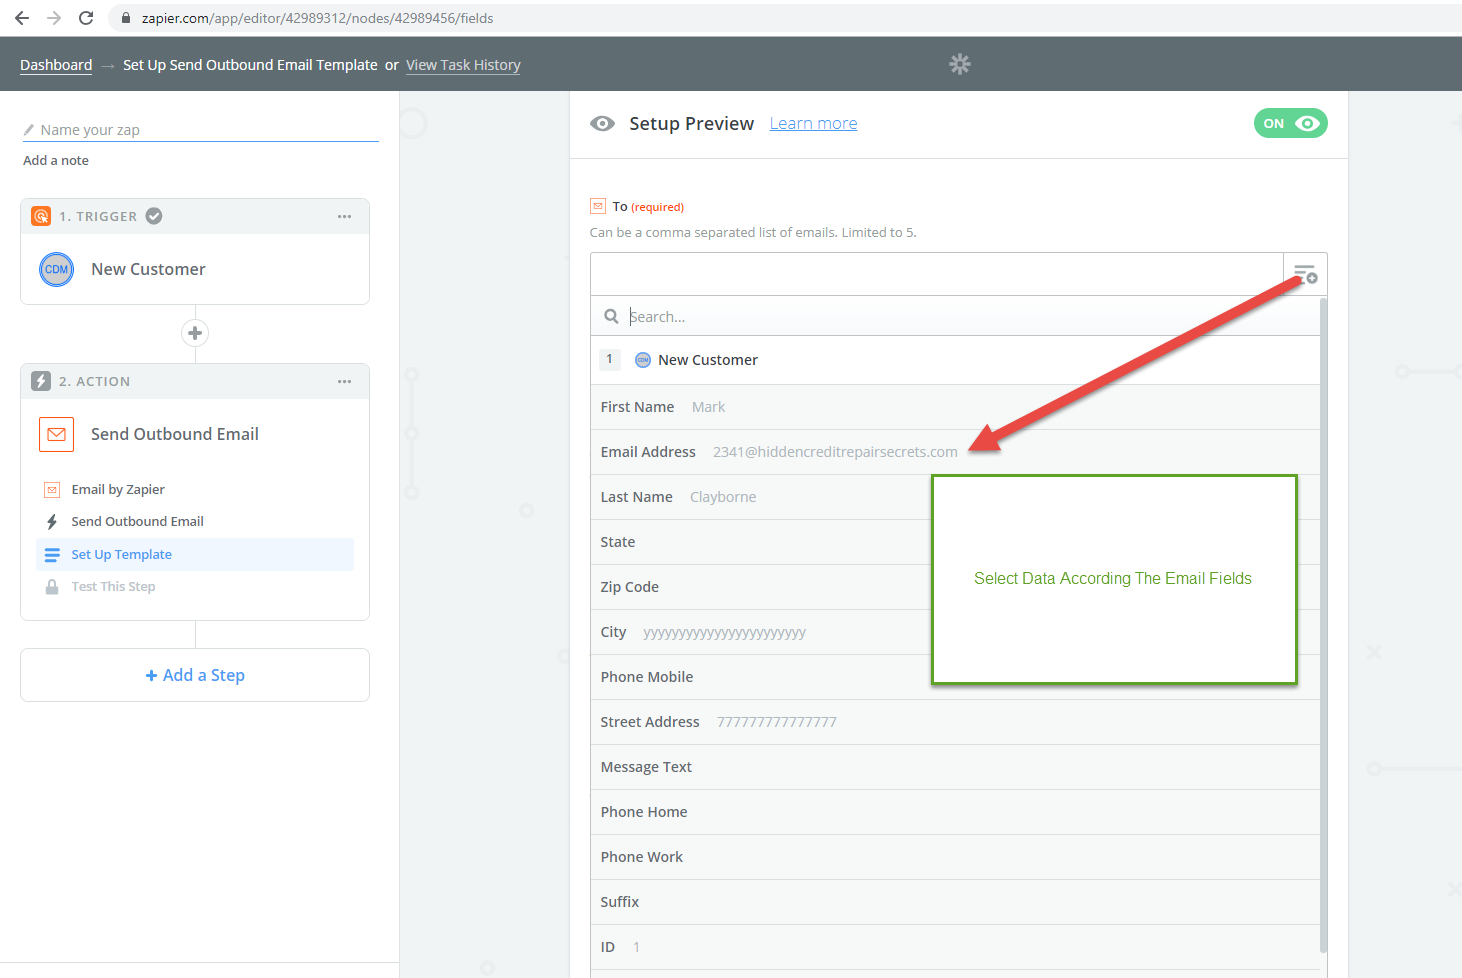
- Configure Data: You have specified where your data goes and when, now, you need to specify the Client Dispute Manager New Customer information that gets sent. Fill out the available data fields with a combination of your own text and data fields (click the field insert button at the top right of the box to add fields). When you have finished this step, click Continue.
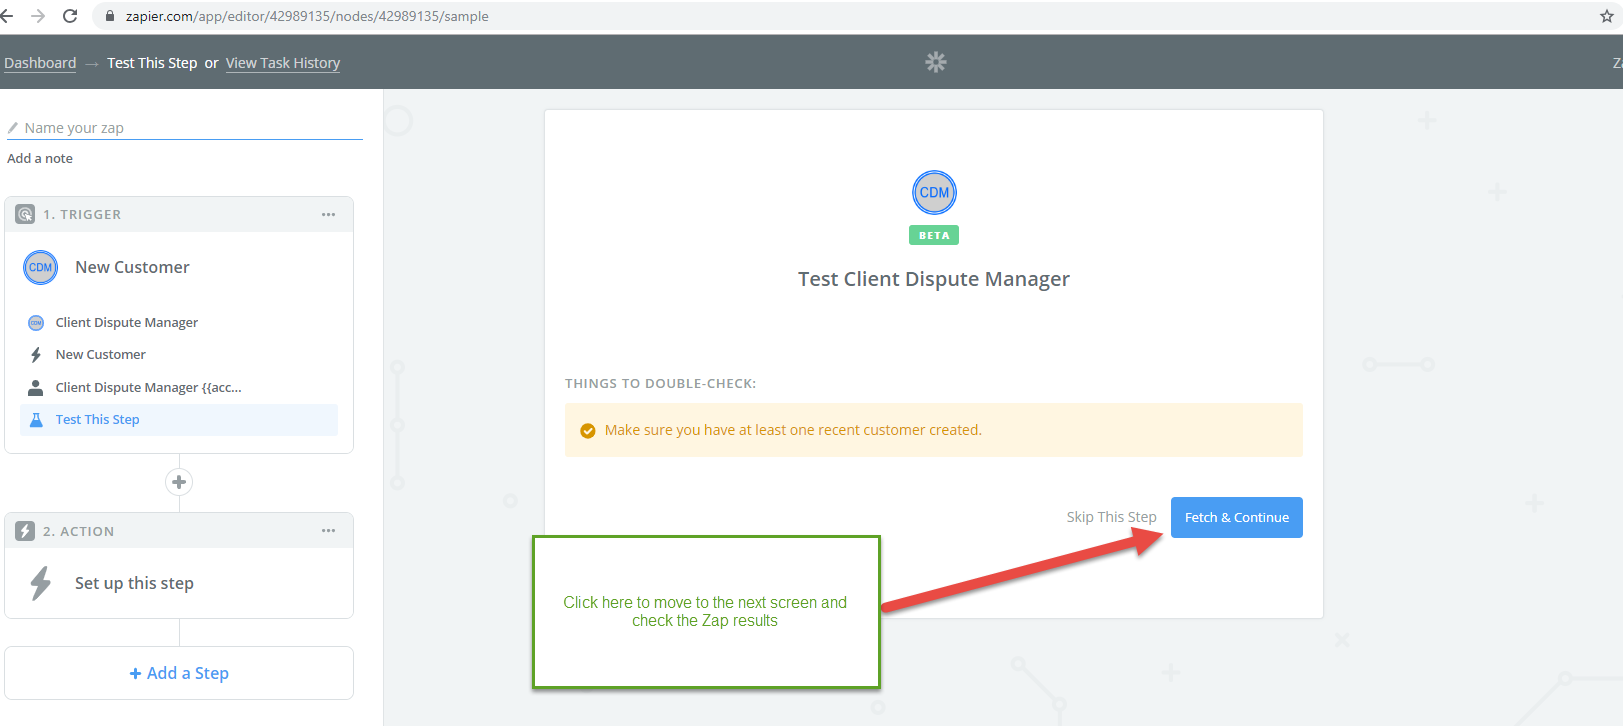
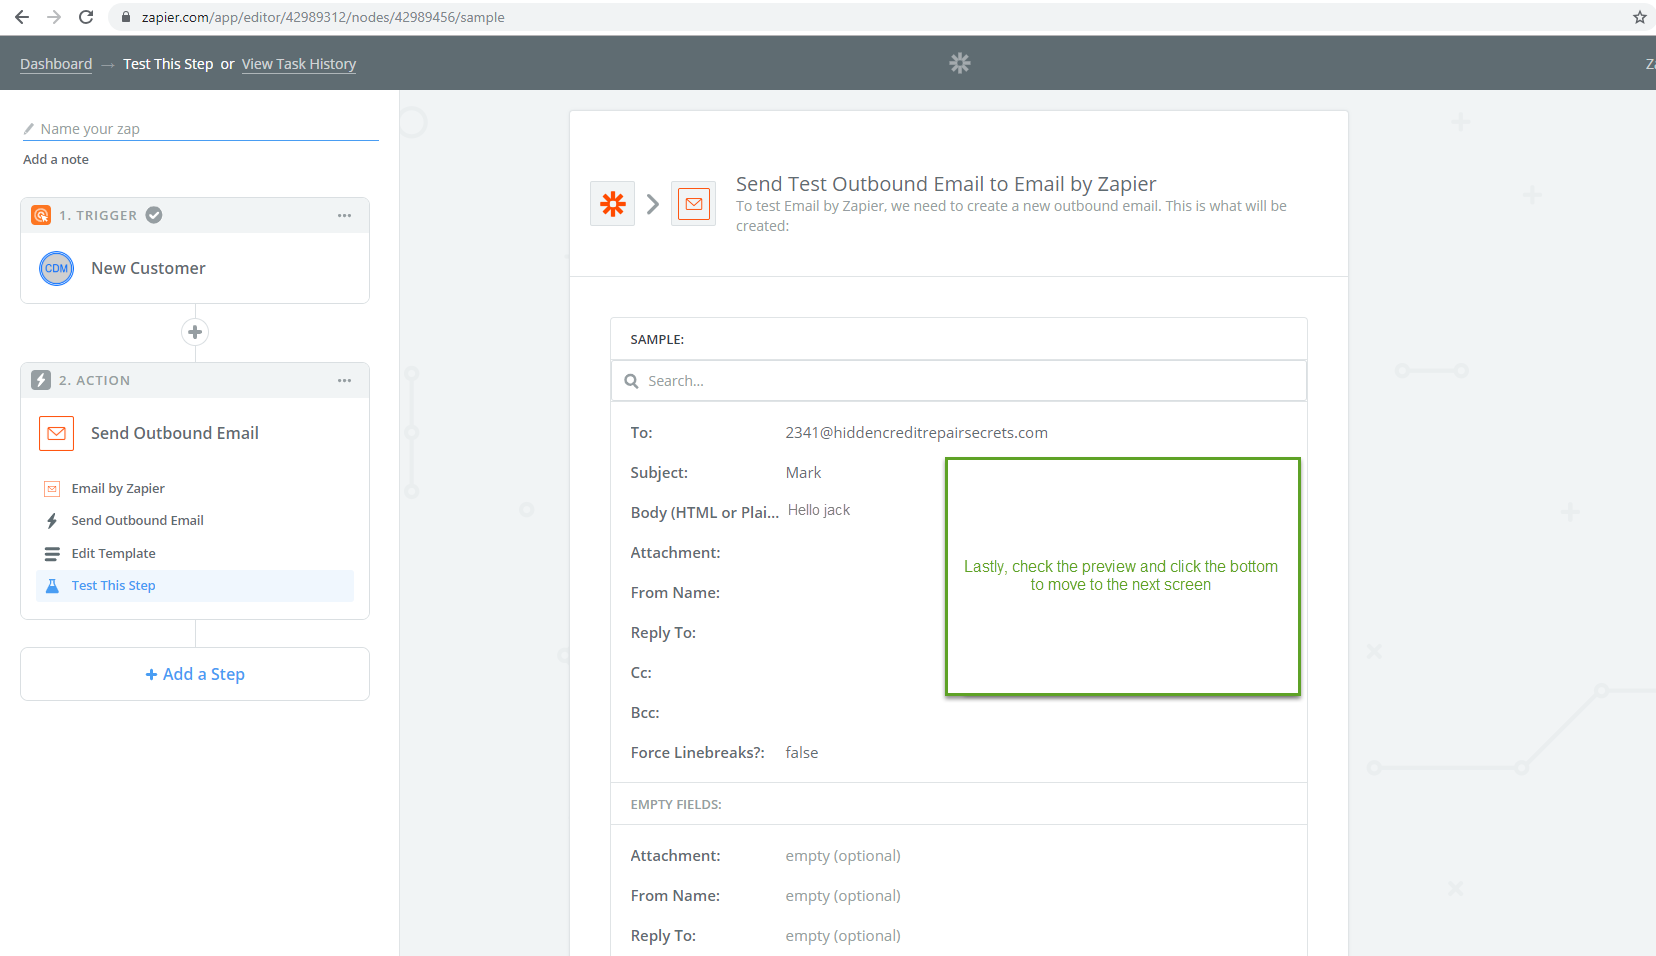
- Test: Try out your Zap using the sample/test data shown next to your fields. When you have finished this step, click Continue.
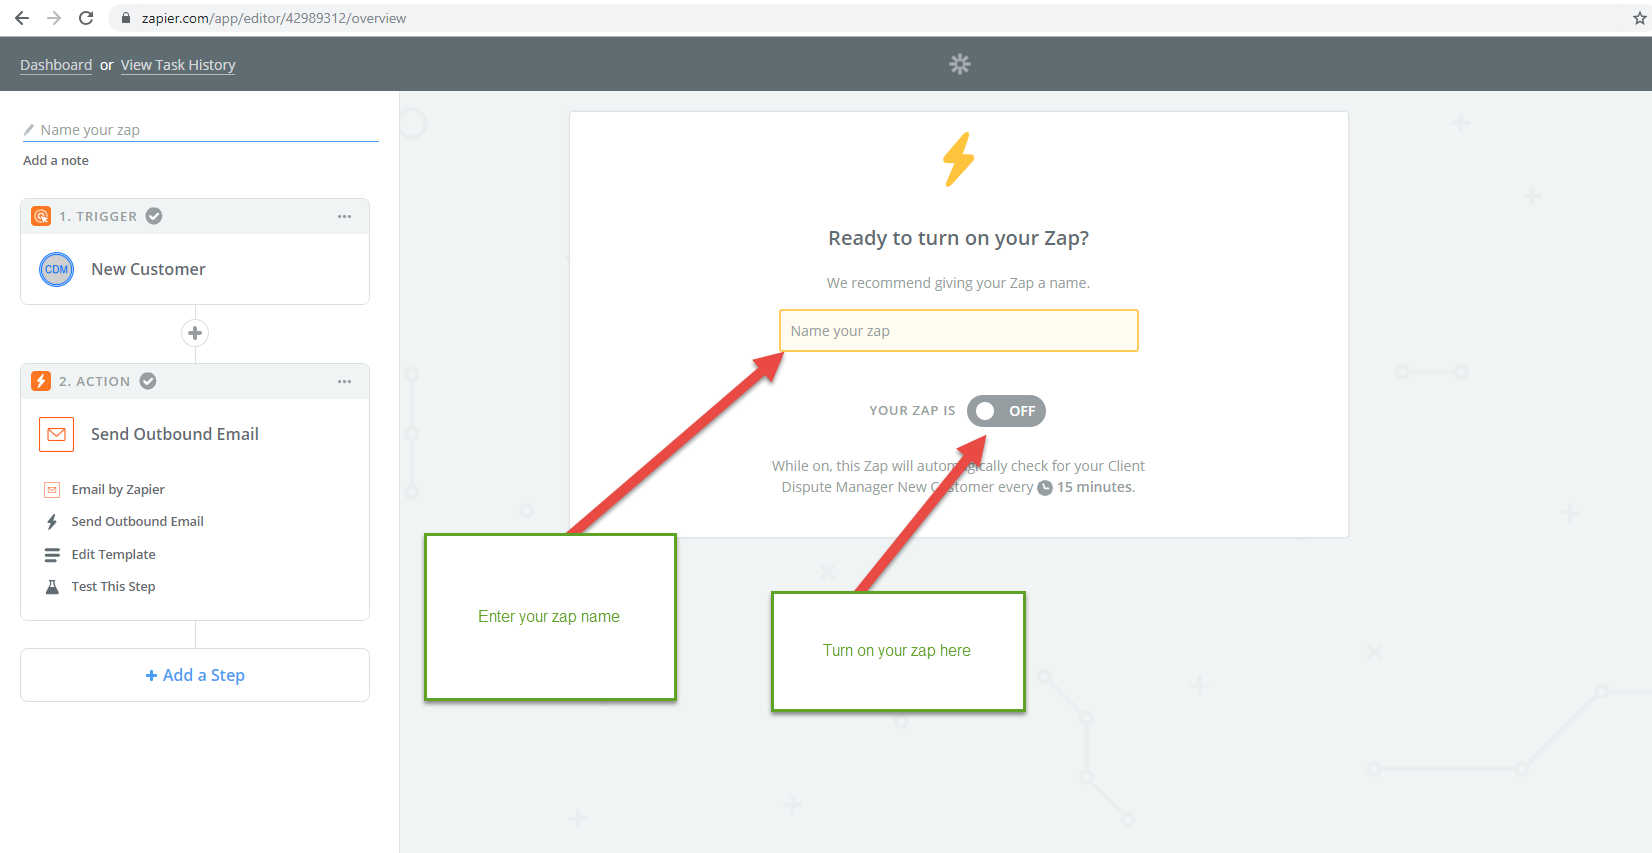
- Name Your Zap: Give your Zap a name. You may find it easiest to use the same Title/Name given to the corresponding Feed.
- Make it Live: Click the Make Zap Live button.
When your Client Dispute Manager trigger fires, data will be sent to your Zap to be processed.
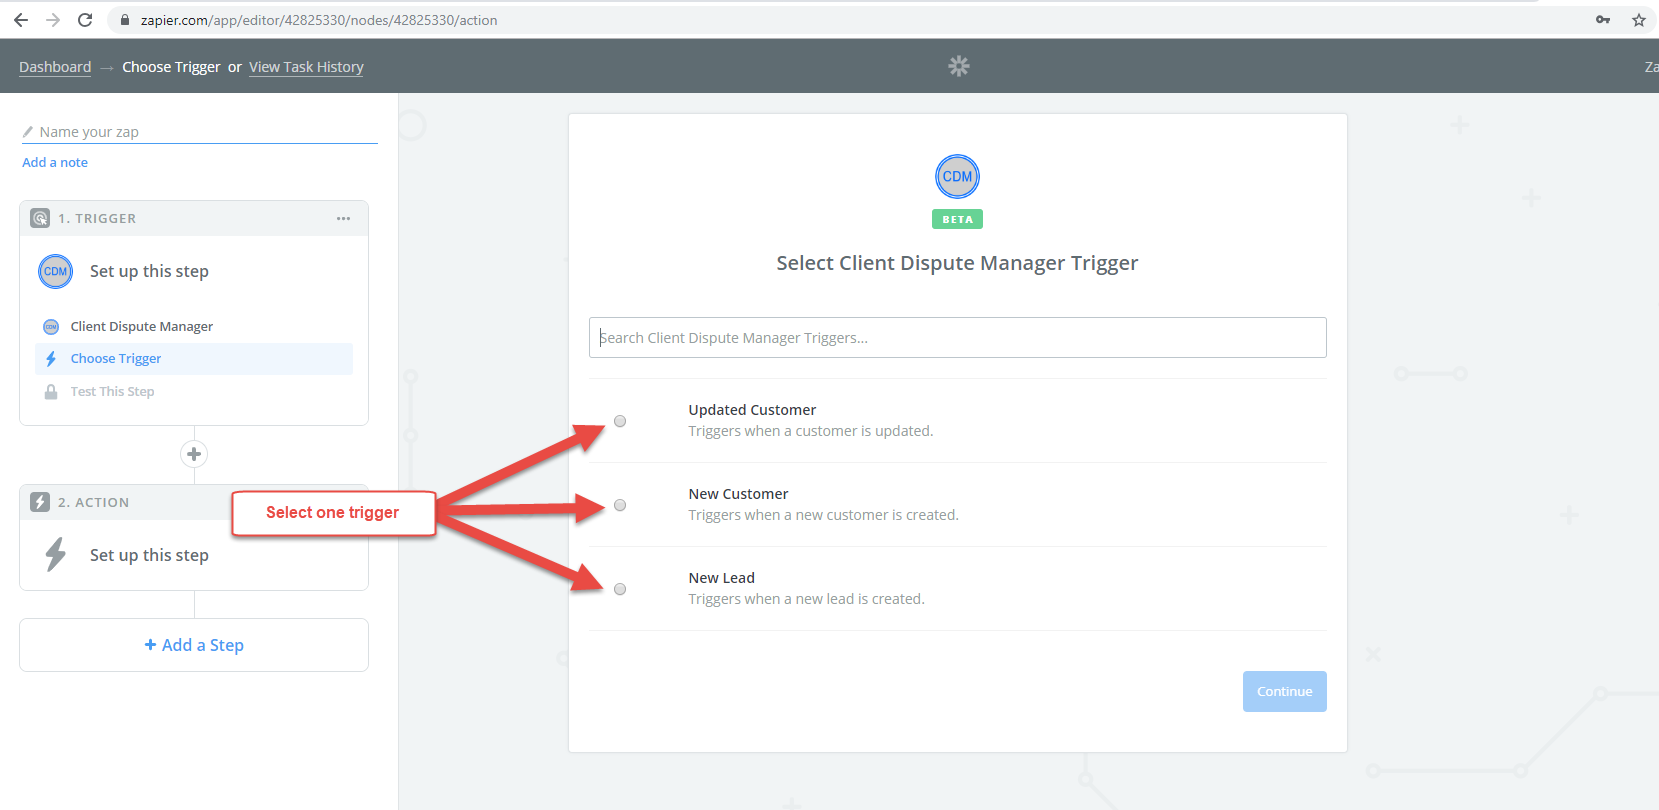
Triggers:
This extension comes with the following Triggers:
-
Updated Customer Triggers when a customer is updated From Customer Screen.
- New Customer triggers when a customer registers form Add new customer in Client Dispute manager Application.
-
New Lead triggers when a new Lead is created.
Actions:
This extension comes with the following Actions:
-
Create Website Lead Creates a new web lead from third party webforms.
- Create Lead Creates a new lead from third party form and it will land in client dispute manager customer list screen in lead section.
-
Create Customer Creates a customer from third party form and it will land in client dispute manager customer list screen in no portal access section.
Zapier Integration Steps
Step 1:
Step 2:
Step 3:
Step 4:
Step 5:
Step 6:
Step 7:
Step 8:
Step 9:
Step 10:
 Processing...